
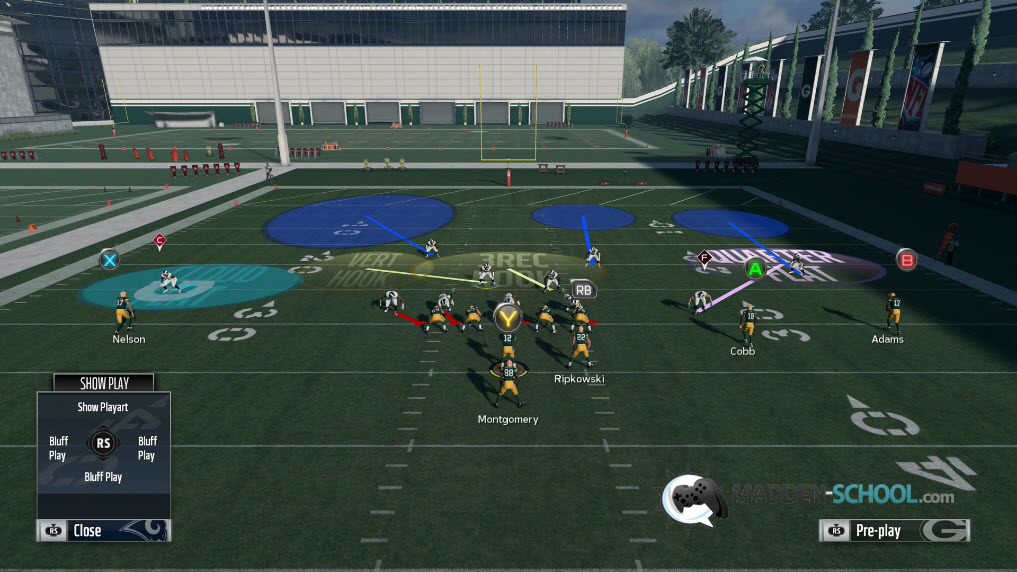
We are going to dive a little deeper into reading the defense in Madden 18.
The easiest and biggest distinction you can make in Madden 18 is whether your opponent is in a cover 2 or cover 3 zone. Just knowing this will go a long way to making your offense better. In order to identify the different zones, we key in on our opponent’s 2 safeties before the snap.
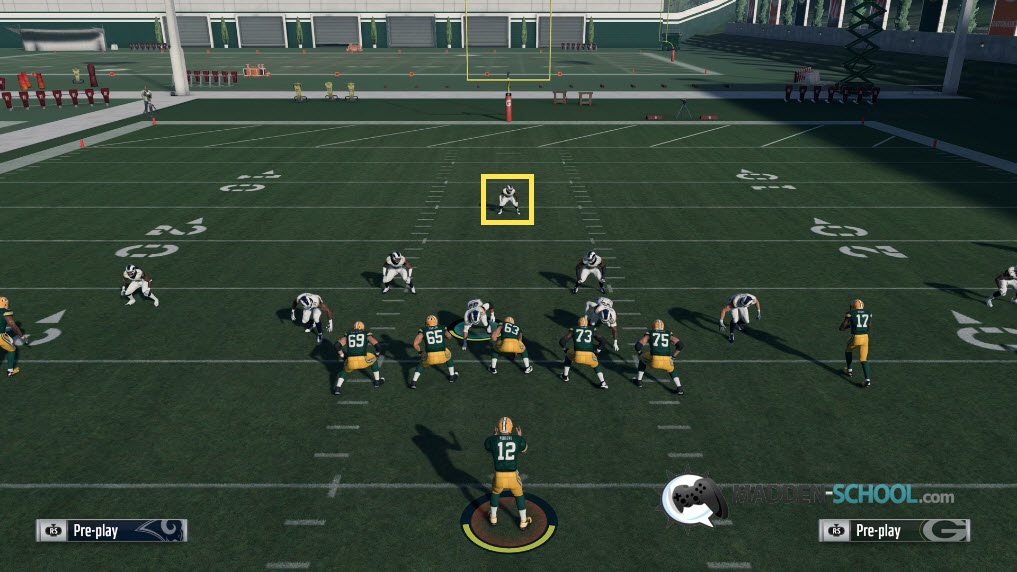
The screenshot above is of a typical cover 3 look. You have 1 safety deep in the middle of the field.
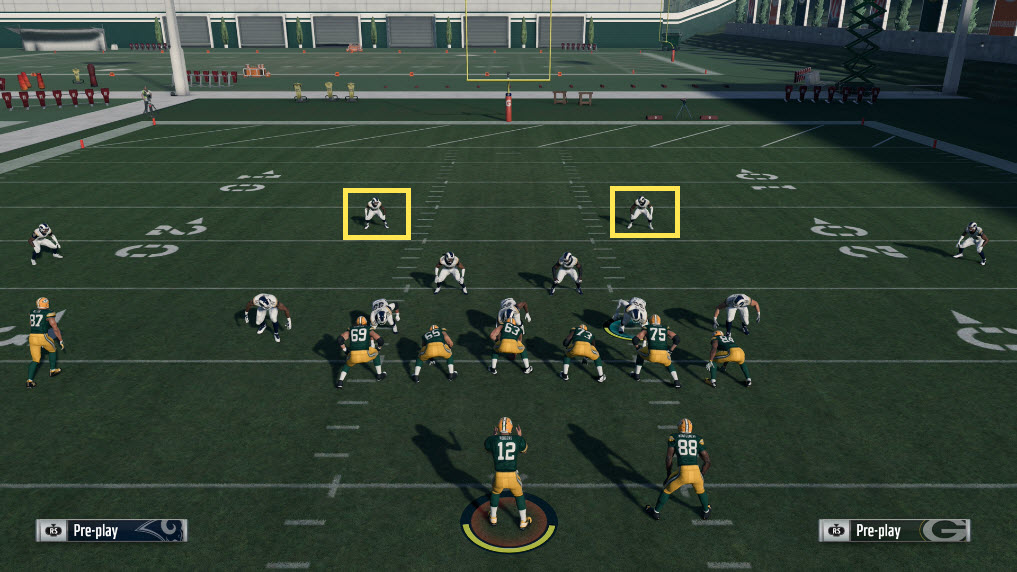
This screenshot is of a typical cover 2 look. Notice that the 2 safeties are both deep. That is a strong indication that it is a cover 2 defense.
If there is only 1 deep safety standing near the middle of the field, then your opponent is in a cover 3 defense (unless he is incredibly good at disguising his defense).
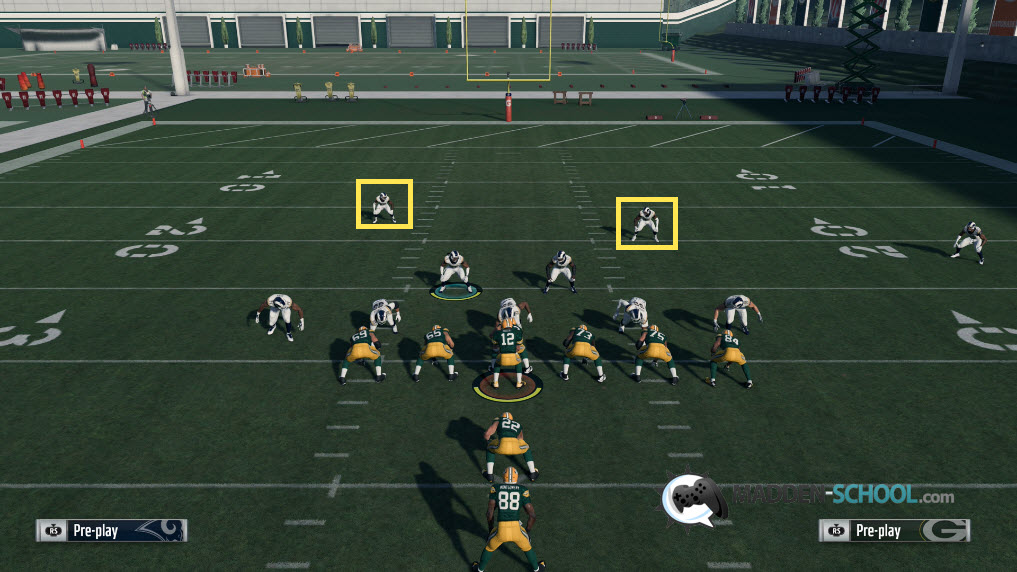
Once you see that there are 2 deep safeties, the next thing you should do is check whether it is a cover 2 or a cover 4 defense. The difference between a cover 2 and a cover 4 defense is fairly subtle but once you get used to it, it isn’t hard to tell. It has to do with the depth of the safeties. Put a different way, it is how many yards from the line of scrimmage the safeties are standing.
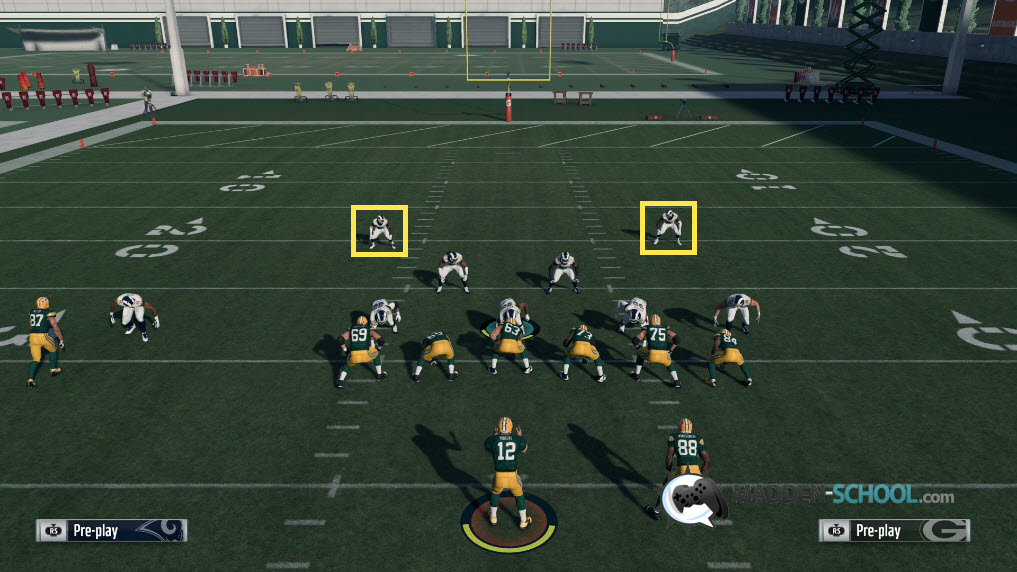
The above screenshot shows a common cover 4 defensive look. Notice how the 2 safeties are 9-10 yards from the line of scrimmage. The ball is on the 30 yard line and our safeties are standing at about the 21 or 20 yard line. Compare that with a cover 2 look below.
Notice here how the safeties are about 12-13 yards off the line of scrimmage. That is a strong indication that it is a cover 2.
In some formations, (like Dime) the safeties can be up to 15 yards off the line of scrimmage in a cover 2. But no matter what formation your opponent is in, if it is a cover 4 defense. the safeties will be within 9-11 yards of the line of scrimmage.
A cover 4 can look very similar to an all out man to man blitz (also known as cover 0) so after you snap the ball, you will want to immediately look to see if it is a heavy blitz (in case it is a cover 0). If it is, look to a quick pass like a drag route or slant route.
Getting the basics down between a cover 2, cover 3, and cover 4 will allow you to diagnose 80% of your opponents’ defenses. Below we will get into slightly more complicated and not as common defenses.
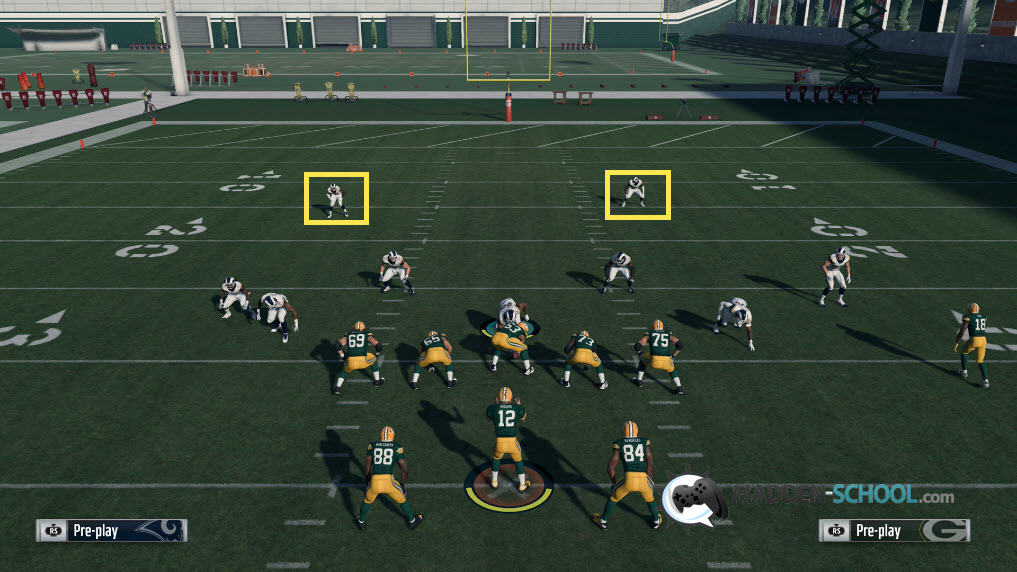
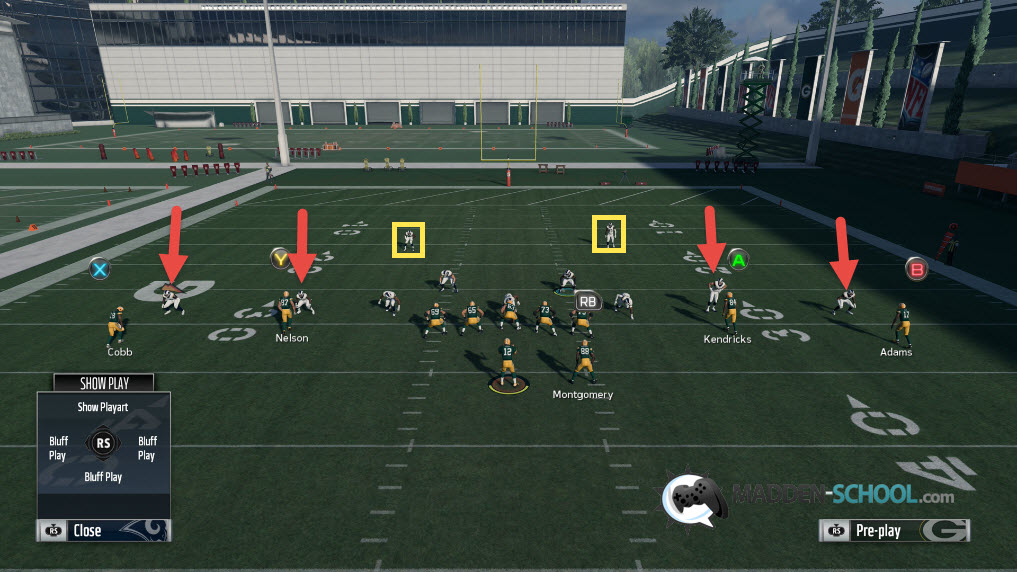
Below we have a Cover 6 defense. That essentially means that we have a cover 2 on the left side of the field and a cover 4 on the right side of the field.
It is a very subtle read. Notice how the safety on the right is 9-10 yards off the line of scrimmage (a classic cover 4 look) and our safety on the left is about 13 yards off the line of scrimmage (a classic cover 2 look).
Very few people run a cover 6 with any consistency but it is something to be aware of.
We also have a cover 2 man defense. That will look very similar to any other sort of cover 2 zone defense except most times, all of the cornerbacks will be in press coverage right on top of every wide receiver.
The image above is how a cover 2 man defense will look pre-snap. Notice the cornerback positioning. They are pressed up right against the wide receivers.

Alternatively, this image shows a cover 2 zone. Notice the corners aren’t in press coverage. Obviously these things can be disguised with press coverage or base aligning but many people are too lazy to make adjustments to their defense to throw you off.
You will encounter people who are good at disguising their defense pre-snap so in the next part of this breakdown, we are going to go over how to tell what defense your opponent is in right after you snap the ball.