
Experienced Madden players (probably about the top 10% of gamers) will be able to successfully hide what defense they are in pre-snap. When they do that, their safety positioning won’t give anything away and every defense will look something like this pre-snap.
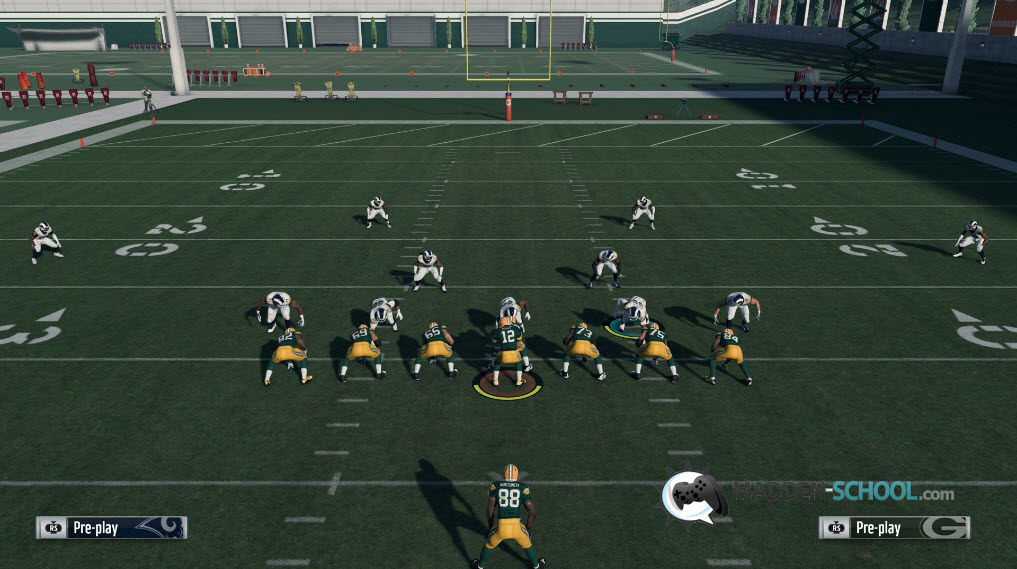
So what you have to look for is how the safeties move right after the ball is snapped. In a cover 2 defense both safeties will immediately take steps back and toward the sidelines.
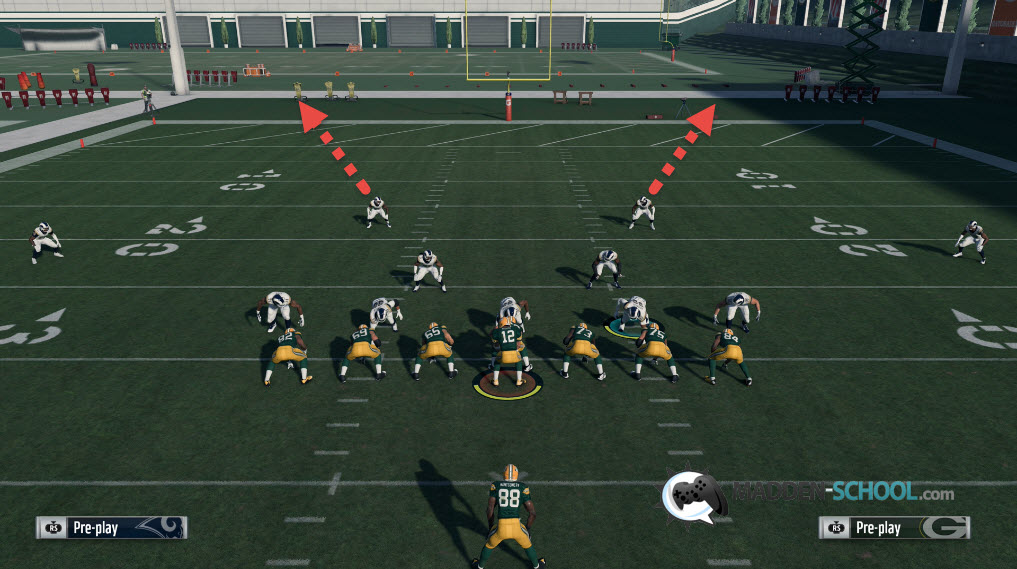
Here is what that looks like in a game. Keep your eyes on the 2 safeties.
Notice that you will be able to tell that it is a cover 2 defense within 1 second from when the ball is snapped. Both safeties take steps back and towards the sidelines. At that point you should immediately know that it is cover 2.
Compare that to a cover 3 defense. Our opponent disguised his defense pre-snap so we can’t just check for the single deep safety like we usually do.
We might suspect a cover 2 defense pre-snap because of the safeties positioning but that won’t be the case here. We will keep our eyes on both safeties in the first split second after we snap the ball.
In any common cover 3 defense, one safety will take a step back and toward the middle of the field while the other safety rotates underneath.

Here is what that looks like in a game. Keep your eyes on our 2 safeties.
In the first split second, we can see that one safety moves towards the middle of the field and one starts running down. Re-watch the 1 second clips if you would like. That is exactly what you should be looking for after you snap the ball. Then you can get your eyes on your receivers.
Here is another example of what a cover 2 defense looks like right after the snap. Keep your eyes on the safeties.
Compare that to the way the safeties move in a cover 3 defense after the snap.
Now that you know how to read defenses pre-snap and post-snap, in the next part of this series (coming soon) we will go over ways to beat each defense.