
How to get a HB subbed into the TE Spot:
- Pause the game and go to the depth chart. Substitute a fast RB into the #1 FB Position
- Resume the game
- Hover over the tight flex formation and click the right stick to the left until you are on the “Regular” package. It will say REGULAR in the bottom left of the play call menu
- Click RB/R1 and resubstitute all your WRs back into the correct spots. Put in a back-up, and then immediately reselect the desired receiver for that spot
- DO NOT SUBSTITUTE ANYONE IN THE RIGHT SIDE TE SPOT. THE HB WILL AUTOMATICALLY BE PLACED THERE, AND IF YOU MANUALLY SUBSTITUTE A DIFFERENT PLAYER THERE THE PACKAGE WILL NOT WORK.
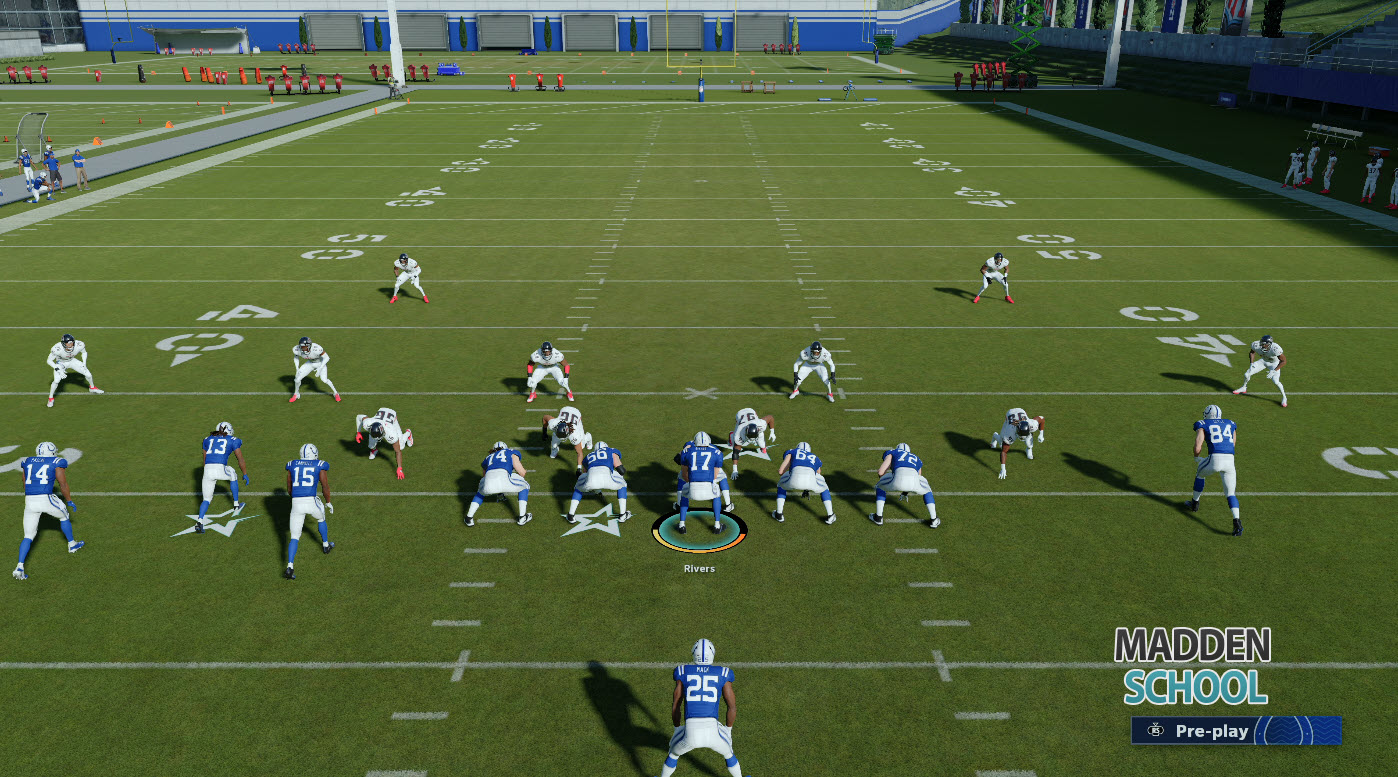
Playbook: Balanced
Formation: Singleback Tight Flex
Play: Run Scheme (HB Off Tackle and HB Dive)
Setup:
- Playmaker the run to the left (for the HB off tackle)
- Motion A/X to the left. Hike when the WR sets
Overview: This setup is my favorite version to run for our off-tackle setup. As discussed in our initial off tackle setup, I feel the run is better when flipped to the left. By motioning A/X across, it does two things for us; this gives us an additional blocker to the left, and also sets up our trips left look that we will base out of this version of the scheme. The HB Dive is more of a complimentary run in this setup, as it does not create that much yardage on its own but is a great change of pace inside run when used vs a weaker box.
Playbook: Balanced
Formation: Singleback Tight Flex
Play: Bench – Version 1
Setup:
- Put A/X on a Fade route
- Put B/Circle on a hitch (can optionally put him on a curl, in route, or smart routed in route)
- Motion A/X to the left, then hike when he is set
Reads:
- We will have one primary read on this play, which will be a high low read between the out route to X/Square and the corner route to Y/Triangle. Read the leverage of the cornerback and make the correct read.
- Our two last resort reads are whichever route variation you decide to put B/Circle on, and then also the blue route to the HB.
Overview: This variation of bench allows us to flood the left side of the field. Both the out route and corner route are man beating routes, but also will flood the zone and put the flat defender in a bind vs cover 2, 3, and 4.
Playbook: Balanced
Formation: Singleback Tight Flex
Play: Bench – Version 2
Setup:
- Put B/O on a streak
- Put Y/Triangle on a drag
- Put X/Square on a whip route
- Motion A/X to the left. Smart route A/X if the first down marker is within 10 yards or less
- (Optional) Block your running back
Reads:
- B/O on the streak is our hot read down the seam. Only throw this if the middle zone is vacated and our opponent is not there with the user
- Our second read is the whip route quickly vs man and zone
- Our third and primary read is a high-low read between the drag(Y/Triangle) and our post route (A/X)
Overview: This version of bench is the opposite of the previous version, so we are now flooding across the field with a high low read toward the right sideline. We have a smart routed post coming across the field, and then will also have a drag underneath to beat the defense if our opponent takes the post away with a user.
Playbook: Balanced
Formation: Singleback Tight Flex
Play: PA Waggle
Setup:
- Put B/Circle on a slant
- Put A/X on a drag. Motion to the left, and hike when he sets
Reads:
- Our first read reading a short high low between the quick slant(B/Circle) and the drag(A/X) over the middle
- Our Second read is Y/Triangle on the over route over the middle and late toward the sideline. If the flat zones are backpeddling and covering the over route, throw the drag underneath
- The final read is X/Square on the post over the top vs man coverage
Overview: I like to implement this PA Waggle play in trips look because it allows me to have another look where the A/X motioned receiver is not a primary read. People key in on the fact that there is a corner route to that WR, and think that when he is motioned over they will see a post coming back across the middle. While this is a play we like to run from Bench, this play we are only putting that WR on a drag. This will allow us to take advantage of both the deep post and the stock crossing route from Y/Triangle.
Playbook: Balanced
Formation: Singleback Tight Flex
Play: Slot Corner
Setup:
- Steak X/square
- Put B/circle on an in route (Optional – Smart route him)
- Smart route the Y/Triangle WR
Reads:
- The hot read on this play is the drag over the middle (A/X)
- Our second read is a high low read on the left side between the corner route (Y/Triangle) and the RB
- The final read will be B/Circle on the smart routed in route. I usually throw this with a low pass by holding LT/L2.
Overview: This is one of the only plays that I will leave all 5 routes out on the field. The reason for this is by keeping that swing route from the RB, it covers our flat route and allows us to have the other WRs run crossing routes. This play requires quicker reads and good pocked presence due to the fact that we only have 5 men blocking.